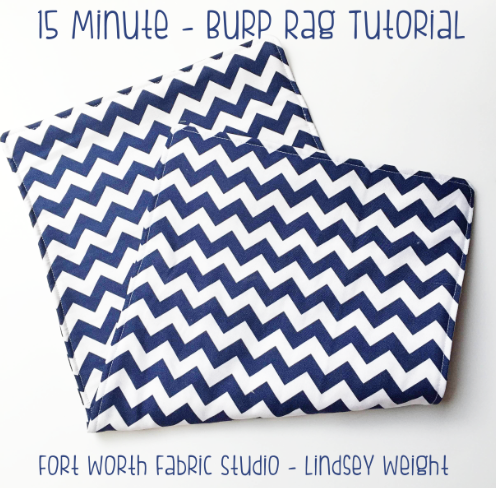
Hi there! I hope you all have enjoyed your weekend! On Friday, I was asked to take a dinner to a new mom in our church over the weekend. I thought she might also like some homemade burp rags as well. So I whipped these up in just a few minutes and took them over with some dinner! In my opinion you can never have too many of these!
These are so simple to make and require very little sewing!
She had a boy, so I just found some very simple navy prints in my stash and sewed them up! You could change things up by doing one print for the front and a different one for the back. Or you could appliqué the baby's initials on the front to give it a more personalized touch.
I thought I would link you up to some of my favorite prints right now that you could use for these burp rags!
Boys Vintage Classics - this line is seriously cute for boys! I love love love these prints!
Mother Goose Tales - this line is great for a boy or girl!
Paradise - this line is so lovely for girls -- I just love the colors in this collection!
Supplies:
- 1/4 yard of fabric or a fat quarter
- 1/4 yard batting
- Coordinating thread
Cutting:
- 2 - 9" x 20" rectangles from fabric
- 1 - 9" x 20" piece of batting (100% cotton batting is what I used)
Step 1: Place your fabrics in this order:
- Batting
- Front right side up
- Back right side down
Step 2: Pin all three layers in place, then sew around the rectangle using a 1/4 seam. Leave a 3-4" opening on one of the long sides.
Step 3: Trim corners:
Step 4: Turn right side out, and press your opening closed and then sew a finishing stitch around the rectangle.
That's it! So simple and so easy! I think I need to make a bunch of these to just have on hand for gifts for new moms! :)
Talk to you soon!


2 comments:
Those are great and I know that new moms love them.
Great idea!! Can't wait to make some!! Thank you
Post a Comment