
I want to thank Cherise for all her hard work she put into making this Quiet Book and sharing the tutorials with us! This has definitley inspired me to make a new quiet book for my kiddos! :) Thanks again Cherise!
Part 1 : HERE
Part 2: HERE
Part 3: HERE
Part 4: HERE
Part 5: HERE
Part 6 & 7 HERE Vintage Market Fabric: HERE
Hi everyone!

I so excited that the day has come when we can go ahead and finish our quiet books! I hope it's been a fun journey for you and also improved some of your sewing skills! I know that once I was done this book I was a lot better at applique than I was when I started!
Last week we did Page 6 and put finished all those things on our pages that we had saved until the end!

Today, we're going to make our closure piece, sew these pages together to make our book and add our finishing touches!
Step 13: Making the closure piece of the quiet book

There are many ways to make a closure for a quiet book but I
decided that a simple strip of fabric with snaps to close the book was what I
wanted to use. Cut two pieces of fabric 2 ½” L x 4” W each. Cut the same size
pieces out of heavyweight fusible interfacing. You should have 4 pieces.


Take your closure piece and line up the raw edge of closure piece with the raw edge of the left side of the Back Cover page of your quiet book. Center your closure piece in the middle of the edge of the page. Baste the closure piece to the back cover using a 1/8” seam. Leave this for now.

Step 14: Sewing the page units together

Clip your corners and turn the page right side out through your opening. Once you’ve turned it right side out then turn your seam allowances to the inside of the page where your opening is and pin that shut.


Repeat this same process for Page 5-2 unit and Page 3-4
unit. This is what it will look like when both pages are done.

To sew these pages together place the Back cover/Front cover/ Page 1/6 page unit and lay it with the Front and Back cover side facing down and the pages 1 and 6 side facing upwards. Now take your Page 2/5- Page 3/4 page unit and place on top of the other page unit with Pages 2&5 facing down (right sides together with Pages 1&6) and pages 3 &4 facing upwards towards you. It should look like this picture, with the Front/Back cover/Page 1&6 unit underneath the Pages 2&5/Pages 3&4 unit.

Yay! You’ve created the ‘spine’ of your quiet book and sewed
all your pages together to create a book! Take a look through all your pages-
it looks fantastic! :)
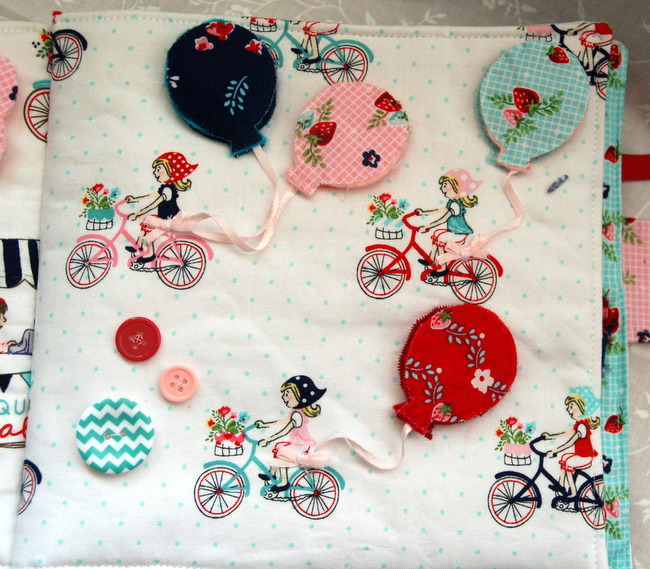
Step 15: Adding the fine details!
I used snaps on the
closure of my quiet book to close it so sew those on or use a button if you
want. I did sew a button on the closure but it’s purely decorative as I used
snaps for mine.


 Here’s my baby playing with it- she loves it!! (She’s
obviously not over 3 years old so I have to watch her like a hawk around those
buttons because she does like to pick them off- I should take my own advice,
eh? :)
Here’s my baby playing with it- she loves it!! (She’s
obviously not over 3 years old so I have to watch her like a hawk around those
buttons because she does like to pick them off- I should take my own advice,
eh? :)
Thank you so much to Fort Worth Fabric Studio for sponsoring this tutorial!
I really enjoyed doing this series for all of you!
Happy sewing!
Cherise


No comments:
Post a Comment