Hi there! Today we have a fabulous guest post from the talented Carrie from Chopping Block Quilts! Be sure to check out her blog, she has a lot of great projects and even some recipes! :)
You can find Carrie:
Today she is going to share with us how to join batting. I don't know about you, but I have quite the pile of batting scraps that are just sitting in a bin. I will use some here and there for small projects, but I've never joined my batting to make a bigger piece before! I knew it was possible, I just never knew exactly how to do it. So I am so glad I came across Carrie's excellent tutorial, I will definitely use this the next time I may need a bigger piece of batting than what I already have!
When making larger quilts, I typically use a whole, new piece of batting but am often left with sizeable scraps that (when joined together) are perfect for smaller projects such as baby quilts.
 |
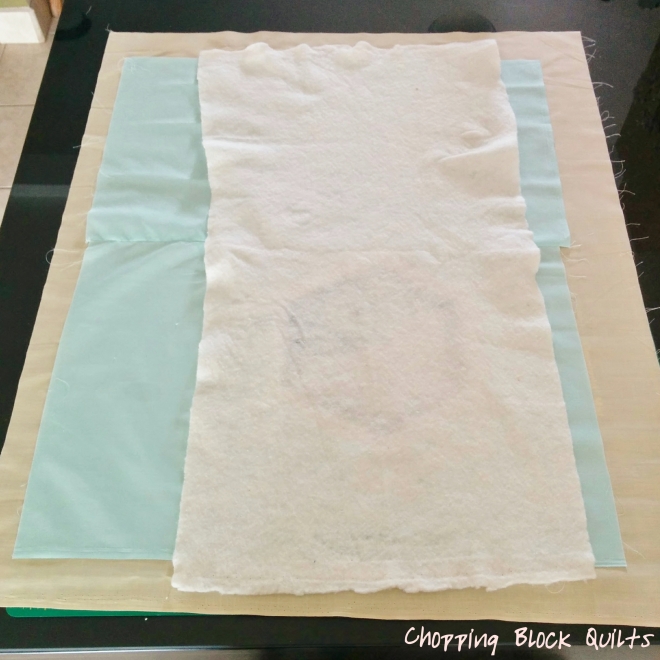
| Batting piece too small for pillow sham. |
1: Make sure that the pieces of scrap batting you are joining are of the same material and loft. When storing my scraps, I fold the pieces into each other to keep like batting together.
2: Lay the batting pieces you are thinking of using so that there is overlap between the pieces of 3-4 inches.
 |
| Overlap Scraps by 3 or 4 inches |
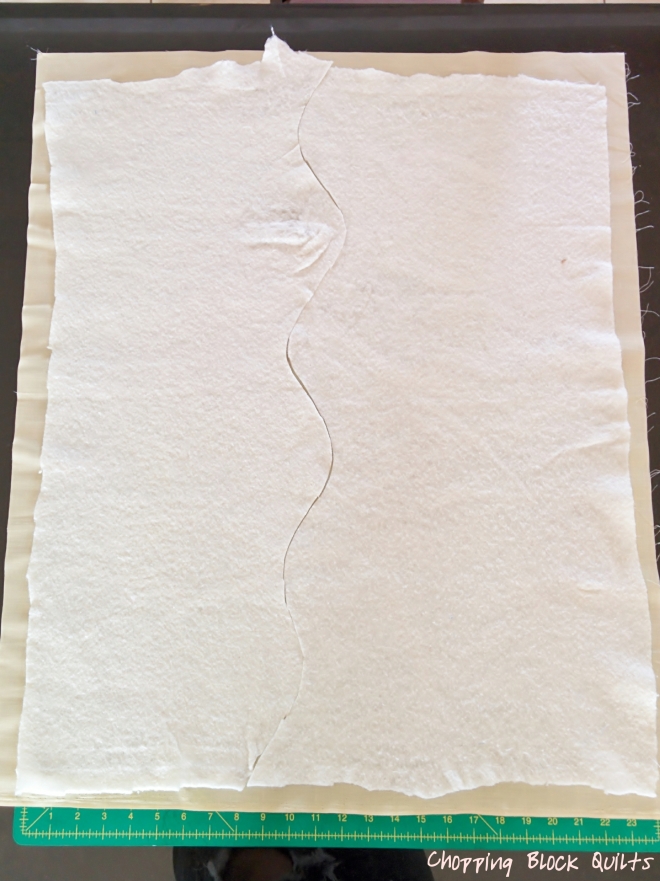
3: (Secret step) Cut through both layers of overlapped batting in a gentle wave pattern. I typically eyeball it but you can mark if so desired.
 |
| Cut through both layers in a wave |
 |
| Remove excess side pieces |
 |
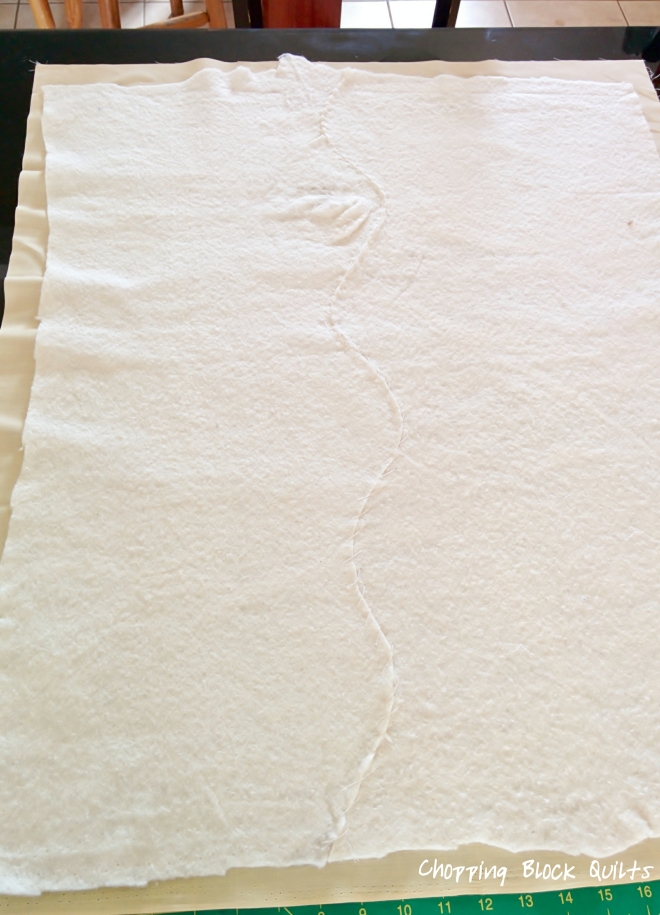
Loose whipstitch to hold the two adjoining pieces at the seam
|
 |
| Joined pieces ready for basting |
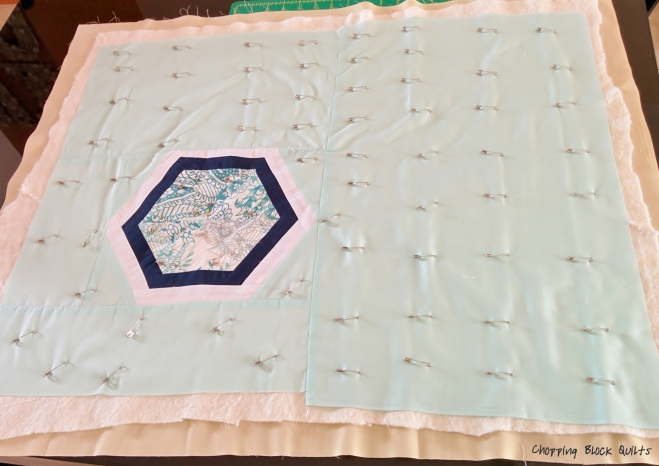
6: Baste and quilt as normal
 |
| Basted and ready for quilting |
 |
Thanks for stopping by!


2 comments:
Thank you this was very helpful. I knew there was something you needed to do but I didn't know about the wave.
Your way is so much better than mine. I will have to use this technique next time. Thank you!!
-Soma
Post a Comment