
Hi there! Now that we have our quilt tops ready to go, I want to show you how to baste your quilt! But first, we need to go over batting.
Let's talk batting. For a first time quilter--this is something that can sort of confuse you. There are several options out there and each batting will change the final look of your quilt.
Here are some of the options out there when you go shopping for batting:

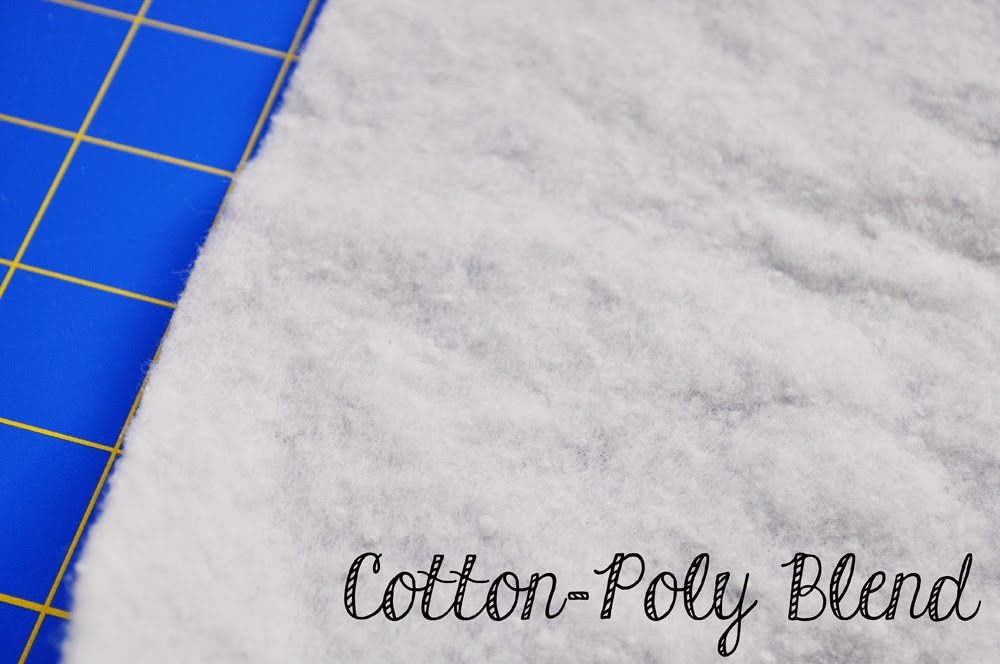
First up is a Cotton-Poly Blend. This is made up of usually 80% cotton and 20% polyester. It is less expensive than 100% cotton, but it is not as soft and warm in my opinion. You will also get less shrinkage with the blend batting. This is also a great option for machine quilting because it's not super thick and not slippery like 100% polyester. I do use this type on a regular basis and have had good results with it.
Next we have our 100% cotton batting. This is by far my favorite to use in my quilts. It shrinks more than the other types and gives your quilt a more vintage wrinkly feel when you wash and dry your quilt for the first time--which I really happen to love! If that's not your thing--then I would use a blend. I also like the actual feel of the 100% cotton.

Now let's talk Polyester! Polyester generally comes in different "lofts." This just means some are thicker and others are thinner. Polyester makes quilts look a bit puffier in my opinion and it is a bit slippery to machine quilt with. A lot of people prefer to use polyester when they tie a quilt or do hand quilting. This batting also doesn't really shrink after you wash it either. It is by far the least expensive out of all the types of batting I am showing you here.

This last batting Warm and Natural is by far the most expensive in the one's I have listed here--but it has a really lovely feel to it. It is not a 100% cotton, but to me it feels almost the same. The one I am showing you is not completely white, but a little off white. They offer the same batting in white as well-but this is the one I had on hand. It does have a bit of shrinkage when you do your first wash, but it is not very substantial--but it does give your quilt a nice vintage feel to it after your initial wash.

Now that we have covered batting, let's talk about basting our quilt:
What does it mean to baste? Basting simply means you are securing your three layers of your quilt so that is ready to be quilted. You can baste your quilt using basting pins, spray adhesive, or you can use basting stitches. I prefer pin basting, and think it is great for a beginner to try.
Before you cut your backing fabric, you will want to make it about 2-4 inches larger on all sides than your quilt top. We do this so that you have plenty of room when you are quilting. It would not be fun to start quilting and realize you don't have backing or batting at the edges of your quilt!
First, lay your your backing face down on a hard surface. Tape all your corners and pull your backing relatively tight. Not so tight that your tape is going to come up, but pretty tight so that you get all your wrinkles out:

Now you are going to lay your batting right on top. You will want your batting to be pretty much the same size as your backing fabric. If your batting has a lot of wrinkles in it from being folded, lay it out a few hours in advance to let the wrinkles come out. I do not recommend ironing your batting---especially polyester batting! Try and get the wrinkles out the best you can.

Now you want to lay your quilt top on top of your batting. You want to make sure your top is nice and wrinkle free. Give it a good ironing before you baste it so that you aren't fighting wrinkles. Also, once you lay it on, smooth it out the best you can. You can see in the picture below I have quite a bit of space on the right side. I could have centered the top, so that I had a lot of room---more than the four inches on those sides. I decided to trim off some of the excess on that side after I basted it because I really didn't need that much overage. If you are really a beginner---it is good to have the excess! It won't be a problem for you!

Now it is time to baste. I like to use "basting pins" rather than just plain old safety pins. Basting pins do not leave large holes where you pin it and they also have a curve to them so that it's easier to lock them in place when you are basting. I decided to pin this on all corners of each block, but could have added more pins by adding some to the center of each block as well. Since my quilt was very small--36" x 36" I didn't go crazy with the basting. If you are quilting a larger quilt, I would do quite a bit more pins--making sure all the layers are secure!

Lastly, I just wanted to mention that I don't baste my quilt until I know I am absolutely ready to quilt it. You do not want your quilt basted with pins in it for a long period of time because the pins will leave holes if they are left for too long. So I generally baste, and quilt the same day or within a week.
Next week, we will finish our quilt up! I will show you how I quilted mine and give you a few pointers on straight line quilting and free motion quilting!
Talk to you soon,


10 comments:
Great walk through on the batting & basting.
Although the Warm & Natural I have is 100% cotton
Thank you for the kind comment! I was always led to believe that the warm and natural I used was 100% cotton, but after researching it on their website I found this:
100% cotton fibers are punched with hundreds of needles into a strong, thin base material to prevent tearing, shifting or migration.
The base material they are referring to is actually artificial I found out! I am not sure if this is the case for all their warm and natural products, but I was a little bummed to find out that the one I used wasn't 100% cotton!
I still love it though and will continue to use it!
Thank you for stopping by! I hope you have a lovely day!
-Lindsey
Hi, thanks for the clear tutorial. I noticed you taped your quilt sandwich to the floor. I have been reluctant to do that in case the pins mar the floor. Do you have an issue with that?
These tutorials are SO helpful for a newbie like me. My first big-ish project didn't go well because I didn't leave enough extra backing, and I'd never heard of basting pins. Can't wait to try again!
Hi Nancy! I have not really had a problem scratching the floor, but I do try and be super careful when I do it otherwise you probably could scratch it a bit!
Fantastic post, I have always used Warm and Natural I did not know it wasn't natural, so bummed. I did win a package of Dream Poly (100% polyester) and I used it for a hand quilted wall hanging and it was so much easier to hand quilt with than the warm and natural, but it is very thin, I wouldn't want to use it for a bed quilt, but to know that there are different thicknesses is very helpful, Thank you.
You forgot Bamboo. It's my favorite batting because we live in Texas where it's hot, and it makes a light weight quilt. It drapes nicely. Yes, it's expensive, I always just a coupon from Joann's.
I'm a new quilter using warm and natural. Would you recommend putting the batting in a cool/low heat dryer for a few minutes to help with the wrinkles? I've done it a few times without any noticeable issues but I'd like your thoughts. I love your simple tutorial. It's very easy to follow. Thank you.
Hi Anita!
I have never tried that before! I think it's a good idea, especially if you haven't had any issues. I have put a low iron and ironed my warm and natural before without any issues as well. Thank you for your sweet comments! I would love to see how your quilt turns out!
Merry Christmas!
Lindsey
Thank you Lindsey, I was hoping it wasnt a big no-no! And I love your blog with all the cute quilt patterns and pretty fabrics :)
Merry Christmas!
Post a Comment