

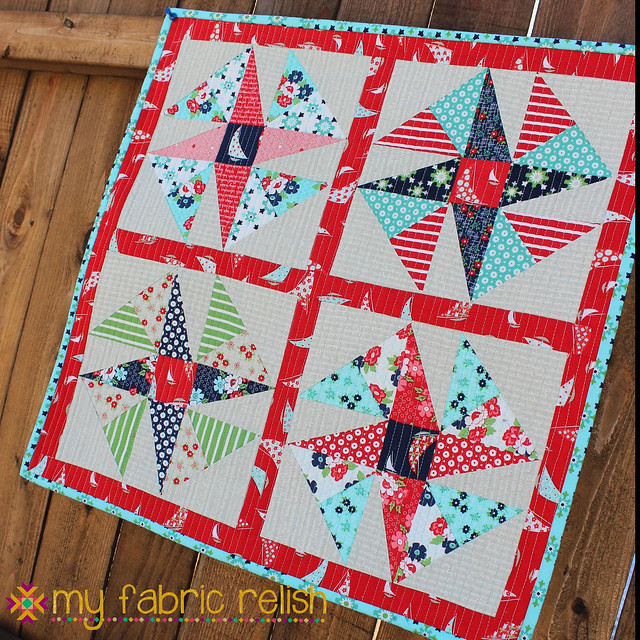
I was inspired to make this mini after I recently spent a wonderful weekend in the mountains in Utah sewing my heart out. I not only got to spend the weekend surrounded by the beautiful Day Sail collection (sponsored by Moda) but because none other than Camille Roskelley was at the retreat. I was really inspired by all of Camille's adorable mini quilts and came up with this fun and really easy mini quilt of my own....
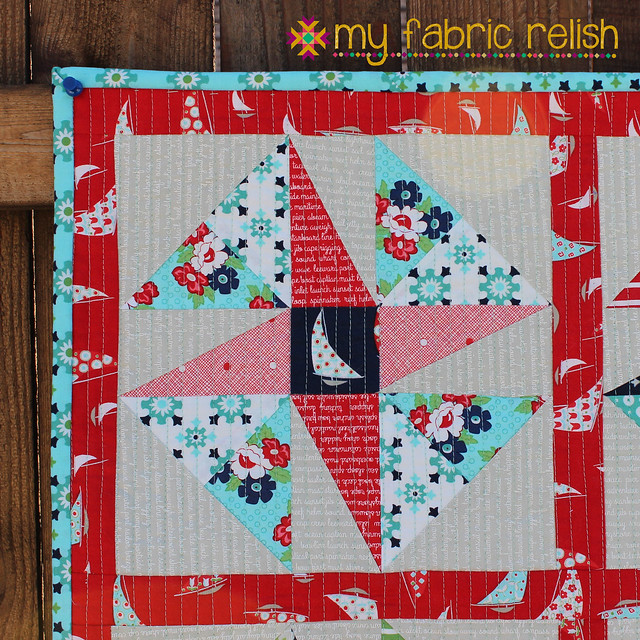
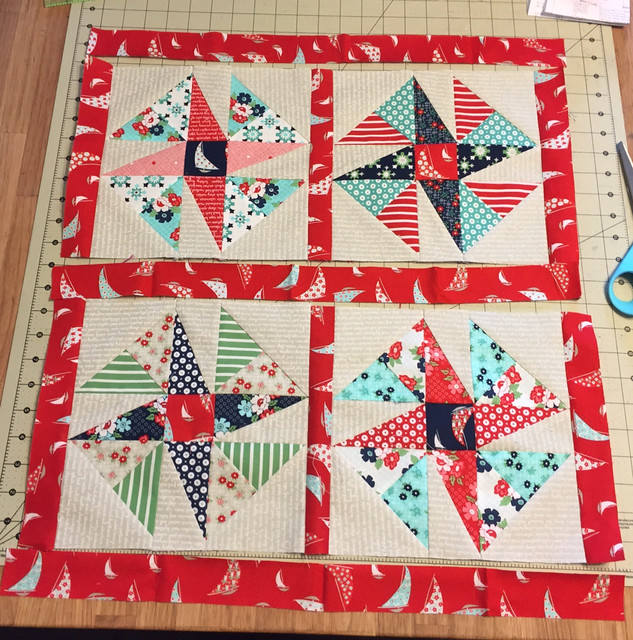
I really wanted the blocks to resemble the sail boat's wind sails and I hope I did! This quilt is so fast and easy because it is made up of four paper pieced blocks. No need to worry about cutting and piecing perfect half-rectangles! Yay! So, let's get started!
Download Pattern HERE!
Fabric Requirements:
1 Charm Pack ((20) 5" x 5" total)3/8 yard of background ((16) 5"x5" total)
1/4 yard (FQ friendly) for sashing
1/4 yard for binding
1/4 yard and 5 charm squares for the backing
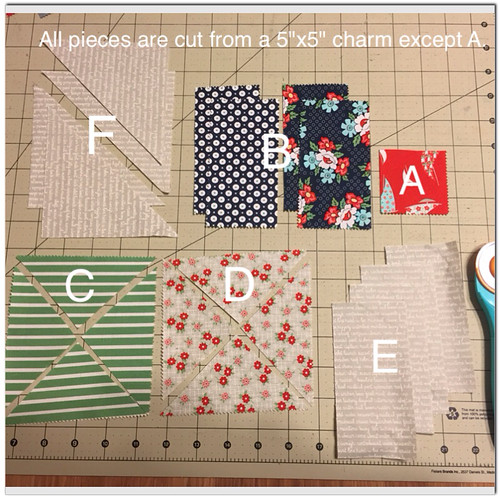
Suggested Cutting Instructions: Please note these are for paper piecing and rough estimates. Feel free to use larger pieces to ensure coverage. This is what worked for me!

Sashing: Cut (6) 1.5" x 10; (3) 1.5" x 22"
Binding: (5) 2.5" x 23" (width of fat quarter) strips
Printing Instructions:
You will need to print out 4 copies of the paper piecing template located at the end of the printable pattern I've provided here.
Piecing Instructions and Tips:

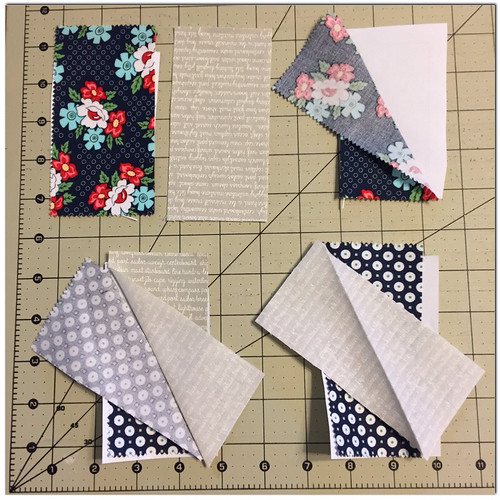
I like to fold my fabric on the printed stitch line so I can line up the fabric accurately.
 I
I
I also like to leave all my papers in until the top is finished. It helps me keep an accurate seam allowance.

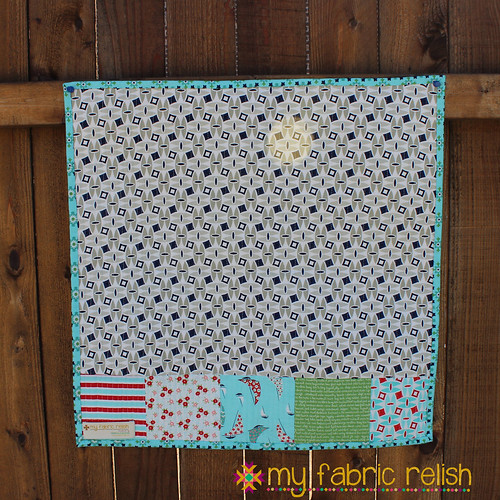
For the backing, I just used a fat quarter and added the charms to make it big enough. Now you can baste and quilt as desired!


5 comments:
So beautiful.Love your fabric combo.Thanks for the tutorial!
Another one that I must try - thank you. :)
That is just lovely. The colors are terrific.
Love your mini! I'm really into mini's these days, and I think many others are as well, judging by what I see on the blogosphere :)
Thank you for sharing.
What a pretty pattern!
Post a Comment