We hope you will follow along each week and if you decide you want to make one too - please use the hashtag #sewingwithfwfabricstudio on Instagram so we can see!
Part 1 : HERE
Vintage Market Fabric: HERE
Hi all!
I`m back again to continue making our Quiet Book pages! I`m loving how cute this fabric is and how the book is turning out and I hope you are too!
Last week we did Page 2 which was our Matching Balloon colors page- it`s so cute!
Now we`re onto Page 3 which is my favorite page! This is my Strawberries`n`Snaps page! If you look close enough on the page it looks like one of my strawberries has legs !! :) This was unintentional!
Step 4: Making Page 3- Fresh Fruit Strawberries Page
I love this page! I loved the `Fruit Stand` on this fabric so I thought that a `Strawberries with Snaps` page was perfect with the “Fresh Fruit Stand” theme of the fabric! This page is meant to go with the next page which is a basket for the strawberries to go into. This page is for kids to have fun with snaps.
Cut 1 8 1/2”L x 8 ¾” W rectangle, fussy cutting the’ Fresh Fruit’
stand towards the bottom of the page so that the strawberries with snaps can go
at the top.
Draw a template of a strawberry onto paper and cut it out. Use this template to trace 10 strawberries onto felt- two felt strawberry pieces for each strawberry. Cut out felt pieces.
Use the same template to trace 10 strawberries onto some fusible web. Cut out the piece of fusible web with 10 strawberries and iron onto the back of the fabric used for the strawberries. (You can only see 5 in the picture). Cut out each strawberry piece.
Take the other 5 fabric/fusible web strawberries and take five strawberry felt pieces and iron one fabric/fusible web strawberry to one felt strawberry piece. You should now have 5 fabric/felt strawberries and 5 plain felt strawberries. Now take 5 snaps and separate the male and female pieces. Take one of the female snap pieces and hand sew on to a plain felt strawberry piece. Do this for all five female snap pieces and plain felt strawberry pieces. You can see in the picture one felt piece with the snap and one felt piece with the fabric (ignore the green piece).
Sew one fabric strawberry piece to one plain felt piece with snap for one strawberry unit with the snap to the underside of your strawberry. You should have 5 strawberry fabric/felt/snap units. For the green strawberry leaves I cut one small rectangle of green felt and sandwiched it in between the two strawberry pieces before I sewed it together. Then use a marker to draw the leaves on the small green rectangle and cut out the green felt leaves with your scissors.
Put this page aside for now- we will sew the other male
snaps onto the appliqued strawberries later. Yay! You’re done page 3 for now!
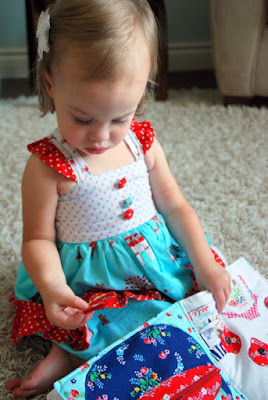
I think that these strawberries are so cute and I hope you enjoyed sewing them so far! My little girl loved this page as well- there`s something about kids and snaps!!
Next time we`ll be sewing Page 4 which coordinates perfectly with Page 3.
Enjoy sewing!
Cherise


4 comments:
I've studied these pages, and I love them. I should have had more time, so that I could sew them. But may be one day.....
So sweet and beautiful. The girl and the dress too!!
What a sweet little book.
Making one as a Christmas gift! SO SWEET!!!
Post a Comment